
My Infrared Photography – “IR590”
Infrared photography is not to everyone’s taste. I have friends who even say they find infrared images “creepy”.
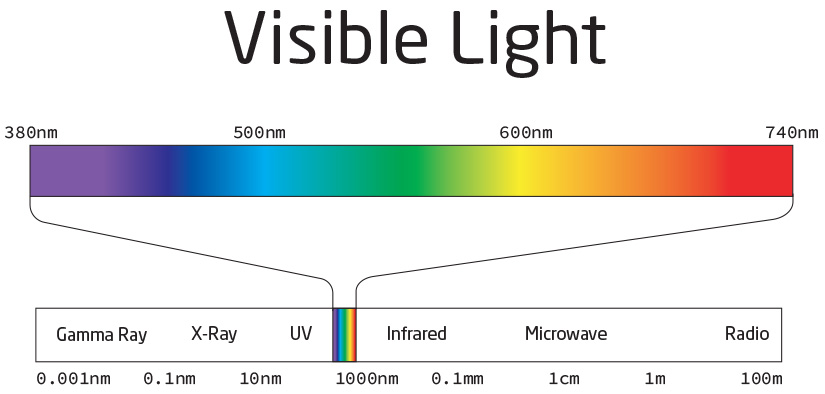
Before getting started, I’ll address a common misnomer so that there’s no confusion. When most photographers, including me, refer to infrared photography, we’re really referring to “near-infrared”. True infrared light is outside the spectrum of visible light. In infrared photography we’re shooting in a portion of the light spectrum, leaning towards the infrared side of visible light, but it’s still visible light.
I’ve been experimenting with infrared (“IR”) photography since buying my first digital SLR camera in 2008, specifically at the 720nm portion of the light spectrum. But unlike using infrared film – as easy as using colour or black & white film – taking infrared photos with a digital camera provides quite a challenge.
Because digital cameras are sensitive to a wide spectrum of light, and because much of that light behaves differently from how regular visible light behaves and would ruin or interfere with the captured image, a digital camera’s sensor has several filters over its surface to exclude (“cut”) those types of light. Included is an “IR cut” filter, to prevent infrared light reaching the image sensor.
By adding a 720nm “IR pass” filter to the front of the camera lens, you can still capture photographs in infrared. However, you are creating a situation where your camera’s sensor and your lens’s filter are in conflict with each other. One is trying to only let infrared light through the lens (“IR pass”) and the other is trying to prevent infrared light getting to the sensor (“IR cut”).
To push through this conflict requires time. Exposure time. An infrared photo usually requires a tripod, quite a bit of focusing guesswork – because your camera can’t focus in so little visible light, thanks to the lens’s IR filter, and infrared light focuses at a different point anyway – and a long exposure of typically between 15 and 30 seconds, depending how sunny it is and/or how effectively your camera’s IR cut filter performs.
There is a solution to the problem, and that is to either replace** or to pay for a service to replace the IR Cut filter on your camera sensor with an IR Pass filter, or to buy a digital camera that has already been converted.
Since Infrared light focuses at a slightly different focal point from normal, visible light, the autofocus system in your digital camera also will need some adjustment. However, once done, taking infrared photographs is no more challenging than taking photographs in normal light. Shutter speeds and autofocus work just as they do with regular digital cameras.
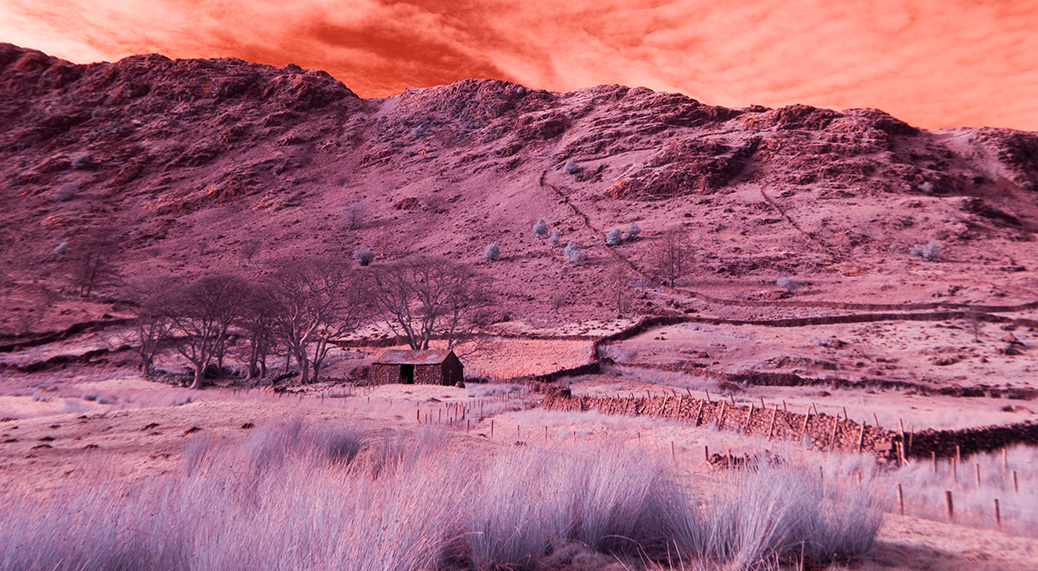
I chose to buy an IR590-converted camera, which is where the IR-cut filter has been removed from the sensor and replaced with an IR-pass filter which allows light at the 590nm mark. Having used 720nm IR-pass filters on lenses in the past, I was tempted to go for an IR720-converted camera. However, IR590 is more versatile for general photography and can even be used in portraiture. The colour images it produces are some of my favourites in the infrared genre. The Kolarivision website gives excellent comparisons of the most popular infrared wavelengths used by photographers. Here is a link to their infrared filter comparison page.

I chose the Nikon D3000 as my infrared camera because I already have Nikon lenses to use with the camera. The camera’s CCD sensor produces 10.2 megapixel RAW files and stores them on an SD card. Many IR-converted cameras are so old that they use CompactFlash cards which have relatively low storage capacity and are becoming quite rare these days. SD cards are still current technology. With a 32GB card installed, and 10.2 megapixel RAW files amounting to only around 9MB in size, I’m unlikely to run out of storage while in the field.
Shooting in Infrared
The image below is essentially how the camera presents what it captures. As you can see, it appears pretty washed out, with very little obvious detail.

However, there is much more information in the image than we can see at first glance. Using the Camera RAW editor, we can eke out more detail in the image and reveal the different tones that are hiding in the data.
Using the slider, below, you can see the Before/After of these adjustments and see how much more detail there is within the file created by the camera than first appears. It’s important to understand that we are already entering into the photographer’s creative interpretation phase in the post-processing of images. There are many ways to edit infrared images but in mine, nothing is added and nothing removed, things are only “revealed”. The following comparisons show the process by which I’ve arbitrarily chosen to edit my photograph:
![[view adjusted image]](/wp-content/uploads/2021/04/IR590-1.jpg)
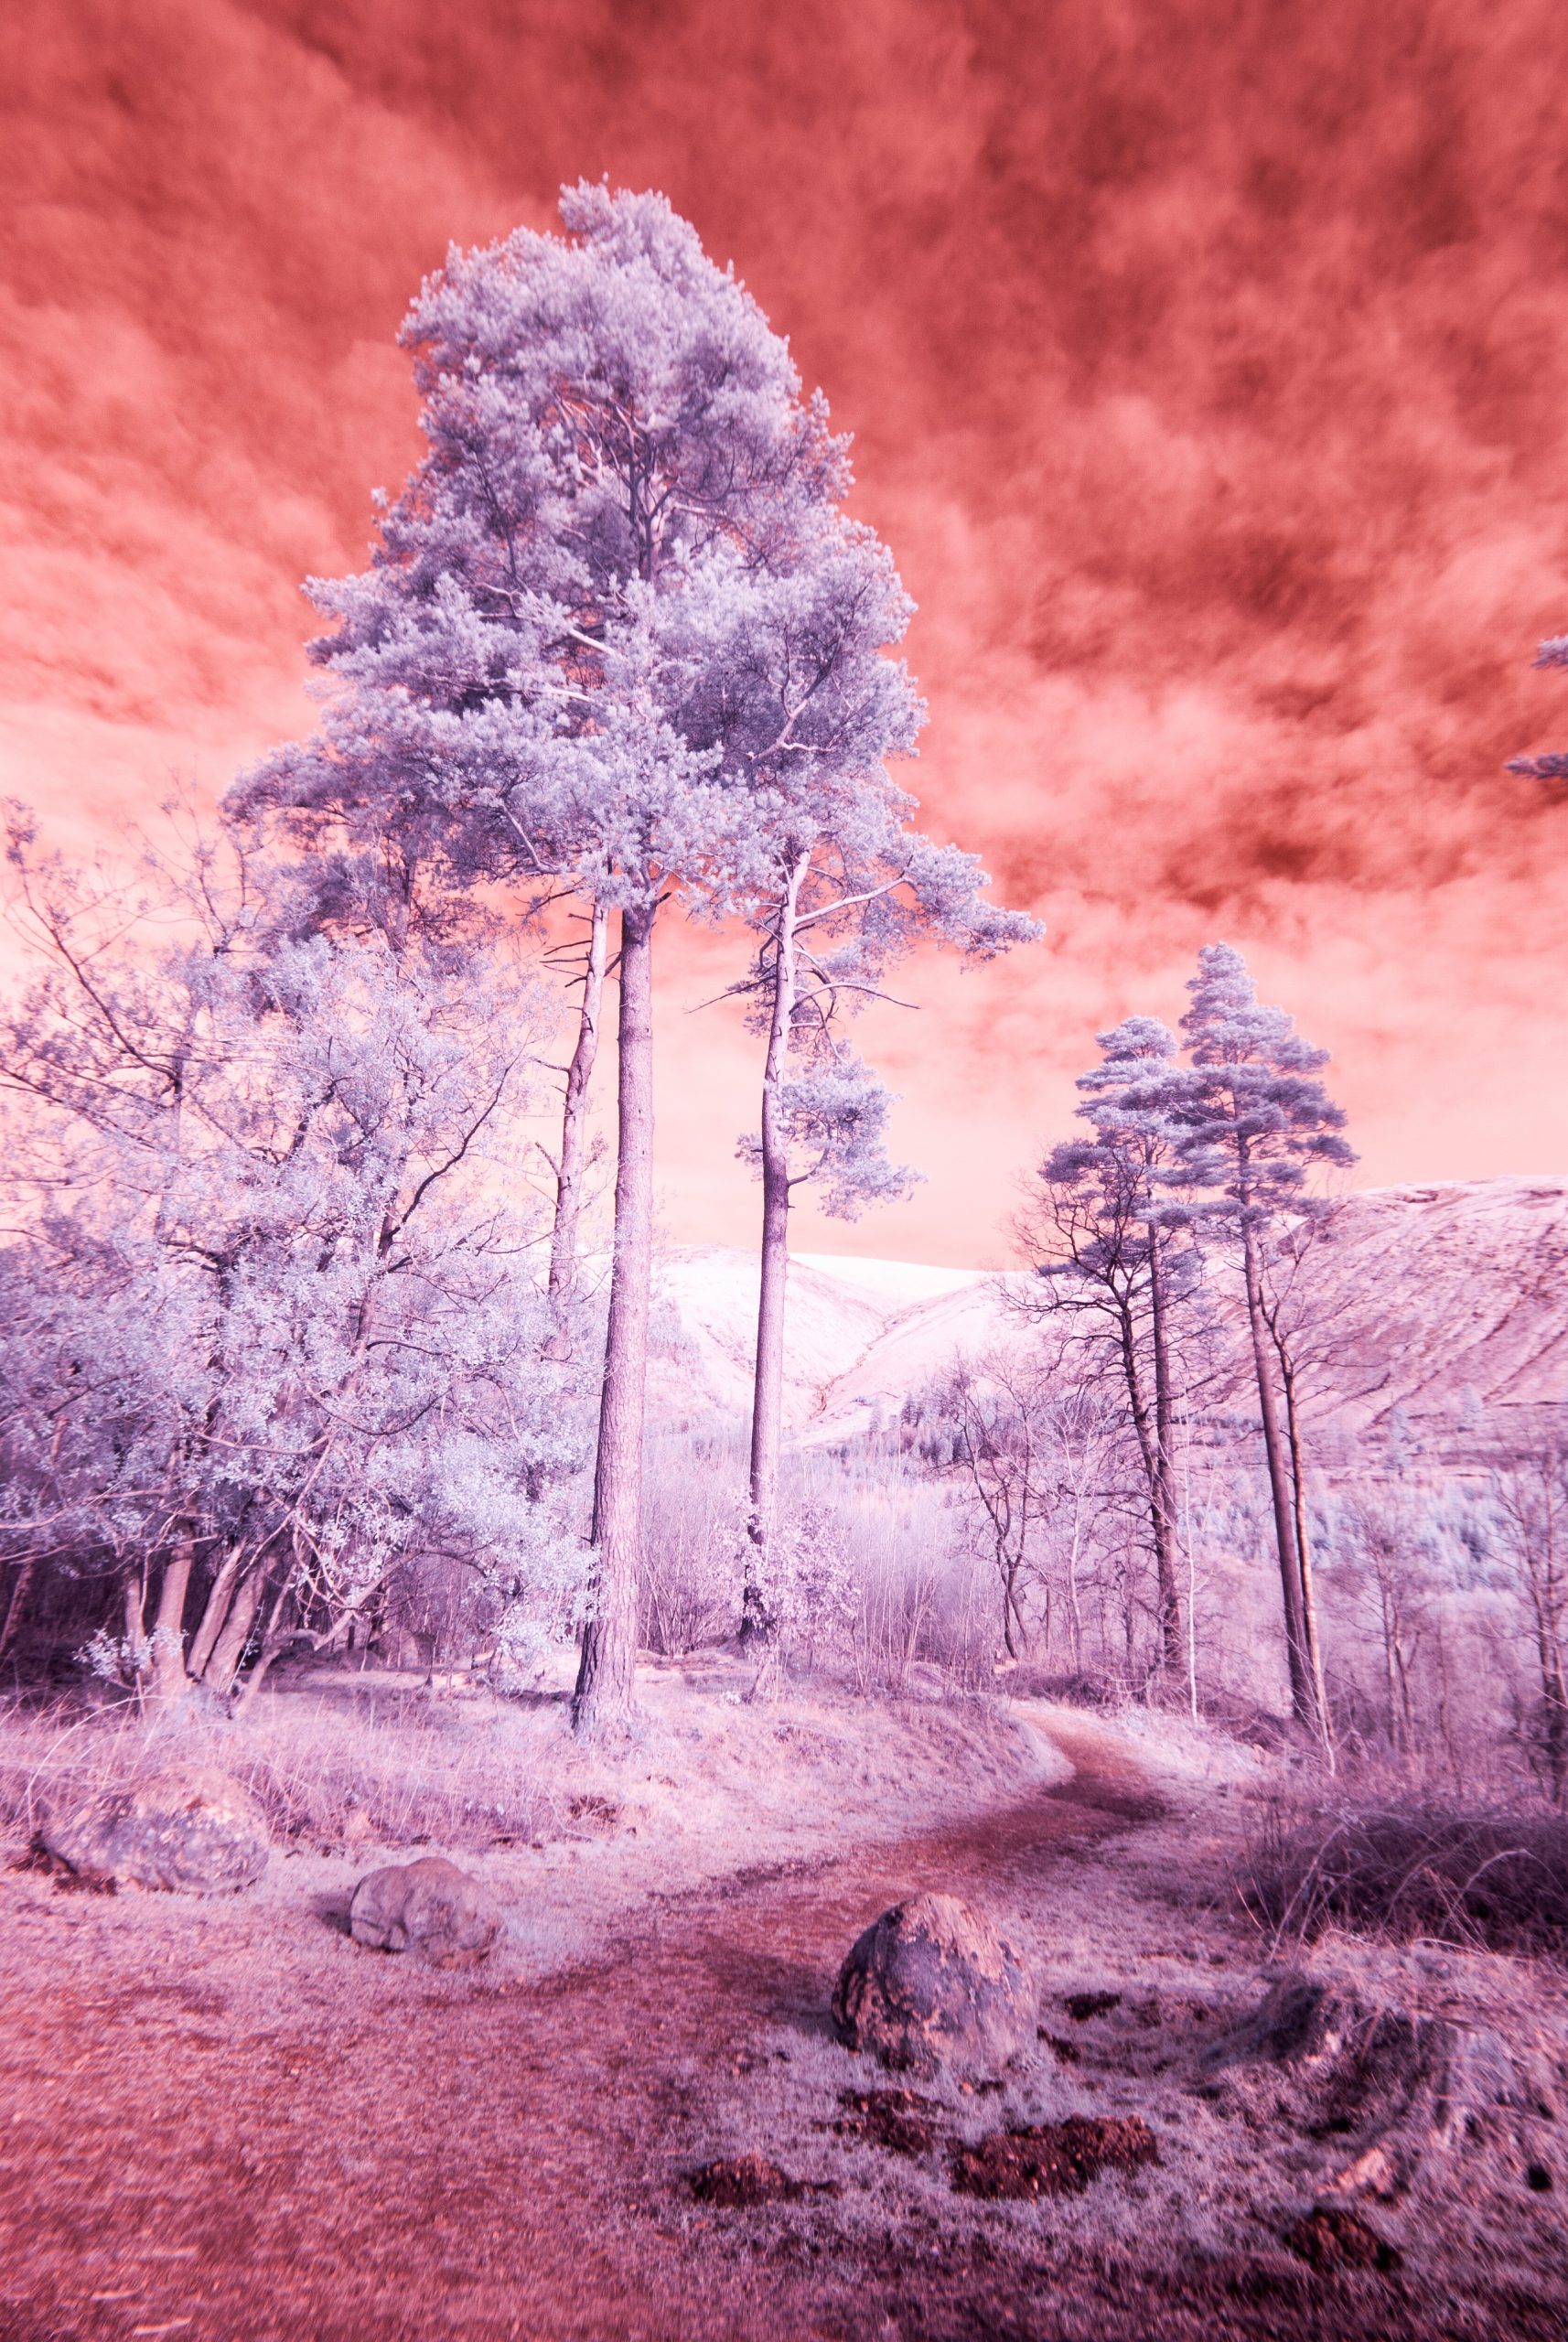
Red/Blue Channel Swapping
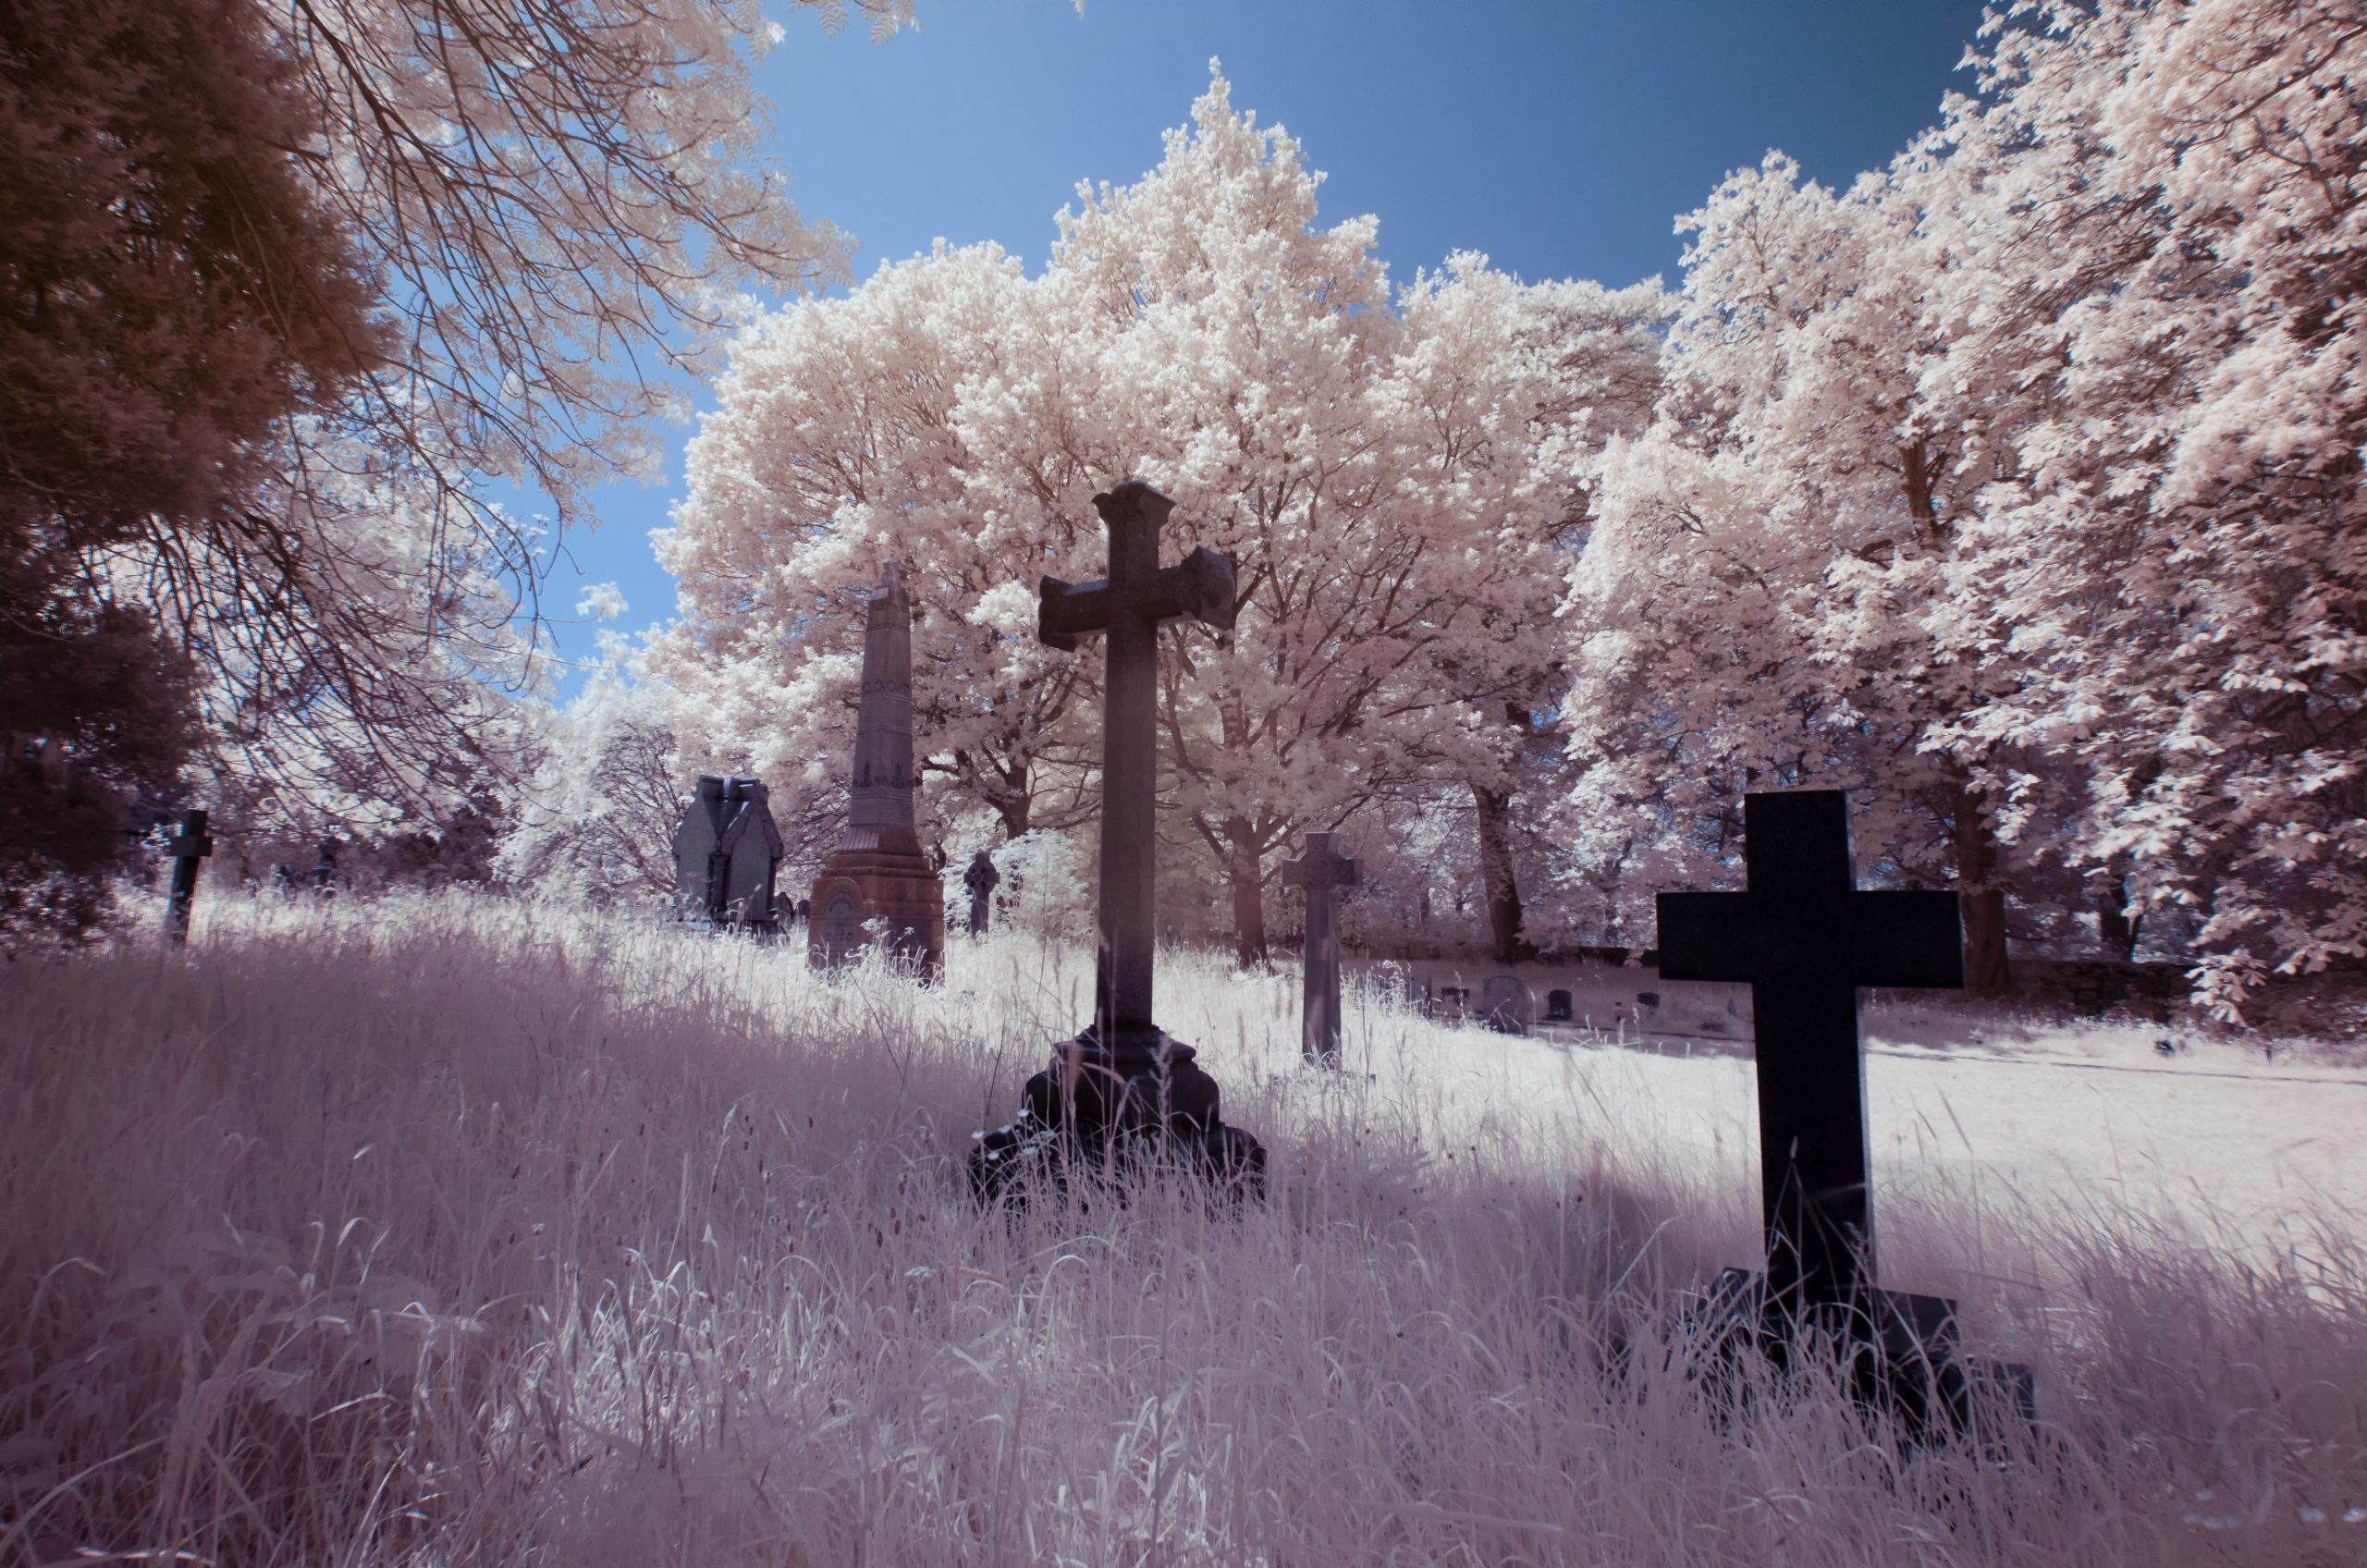
Infrared light really does behave strangely. To view something more akin to what our eyes might recognise, many infrared photographers perform a trick called “red/blue channel swapping”. In a sense this is the same process as printing a photo from a negative in a film camera, except the process affects tones rather than luminance. Both versions of the image represent infrared photography but aesthetics are at play:
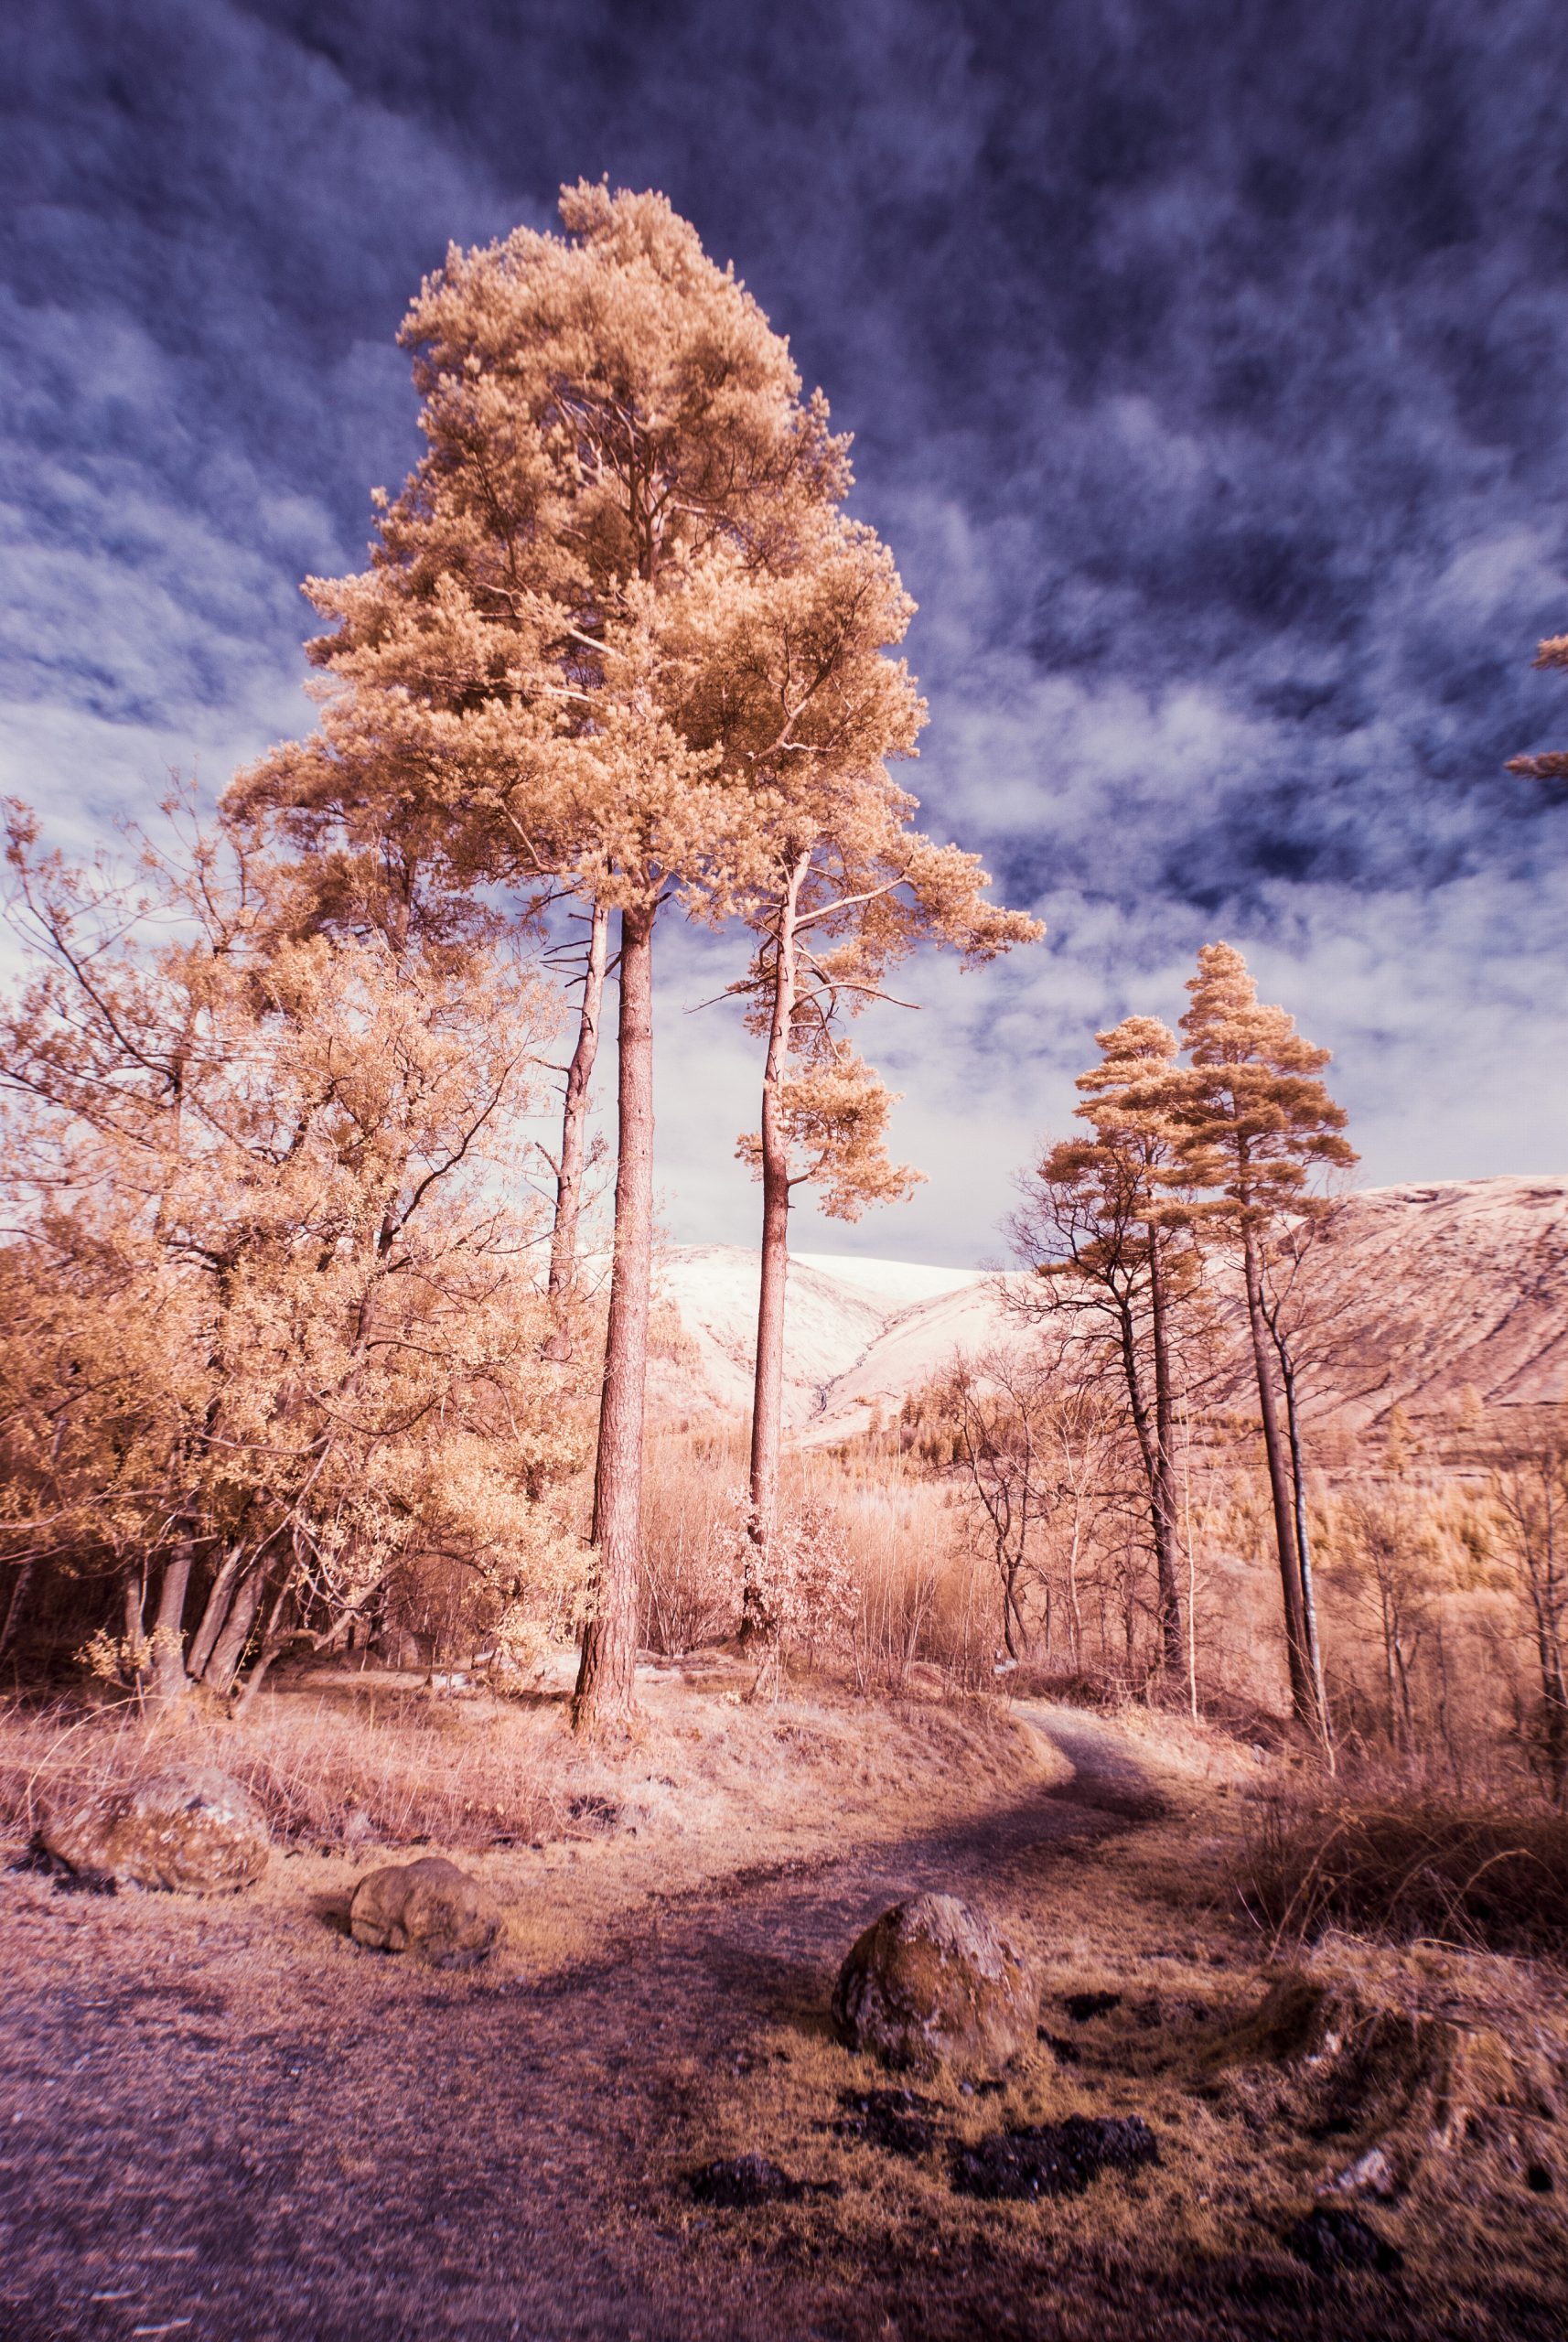
![[view channel-swapped image]](/wp-content/uploads/2021/04/IR590-2.jpg)
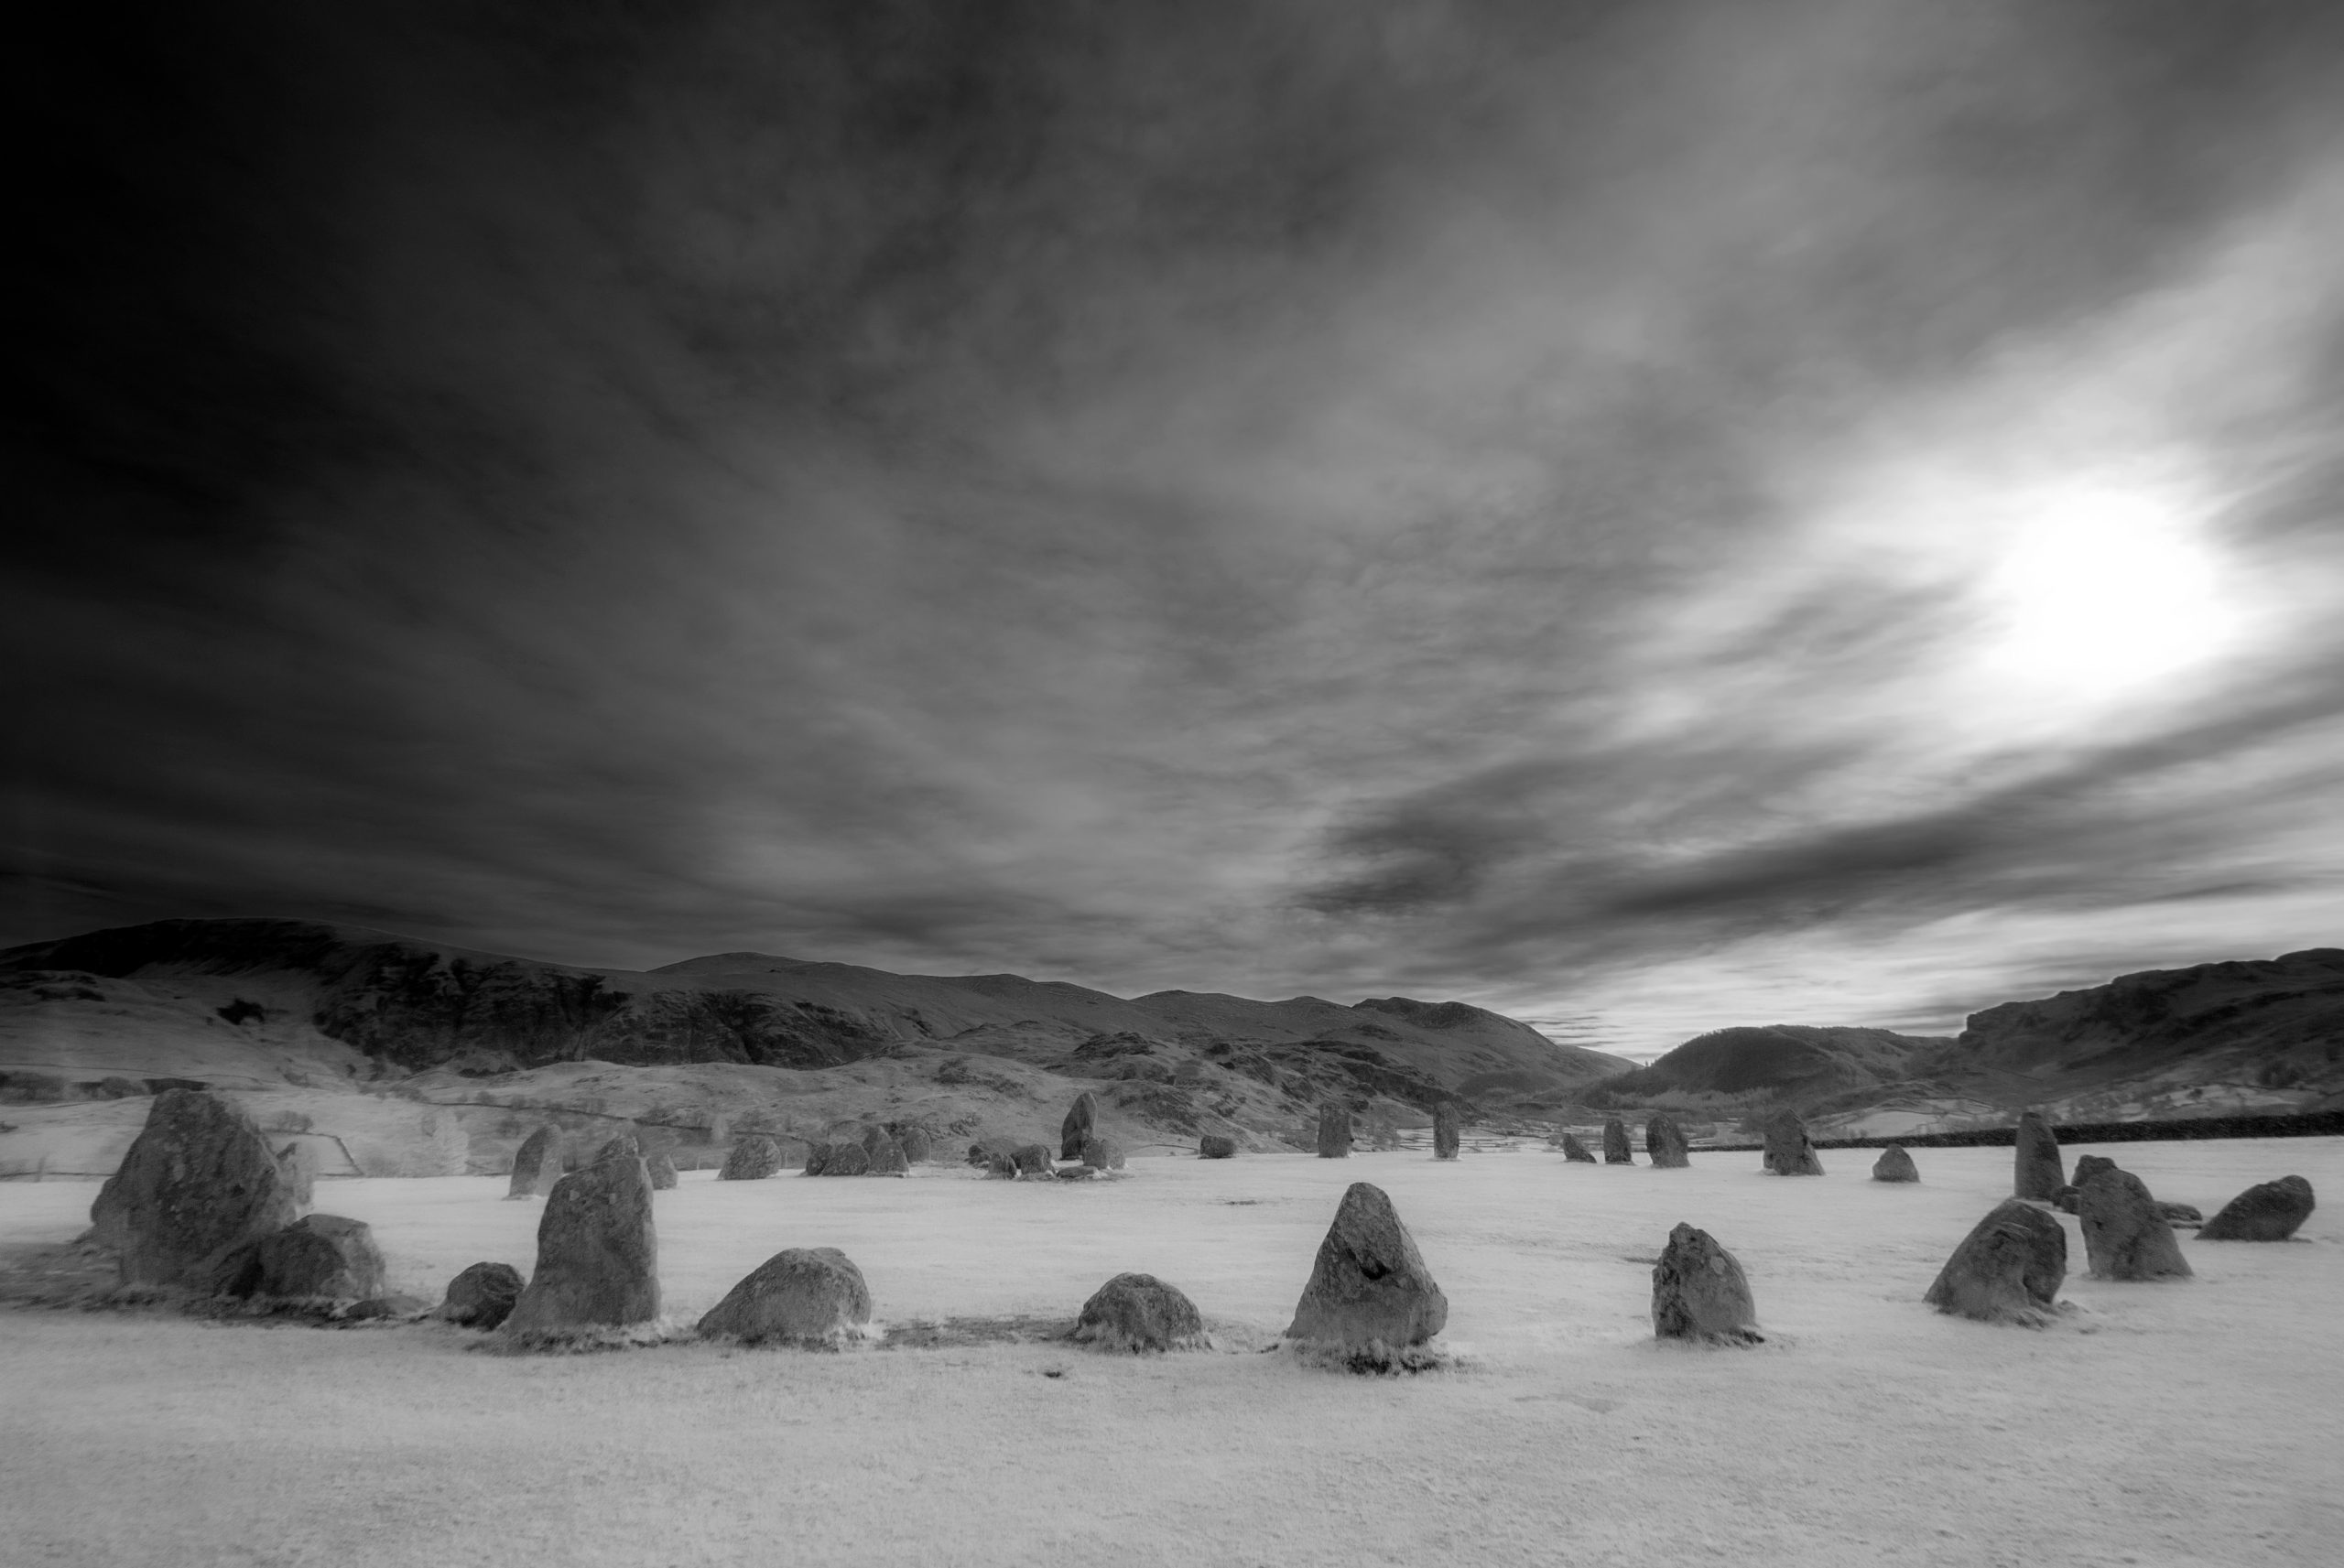
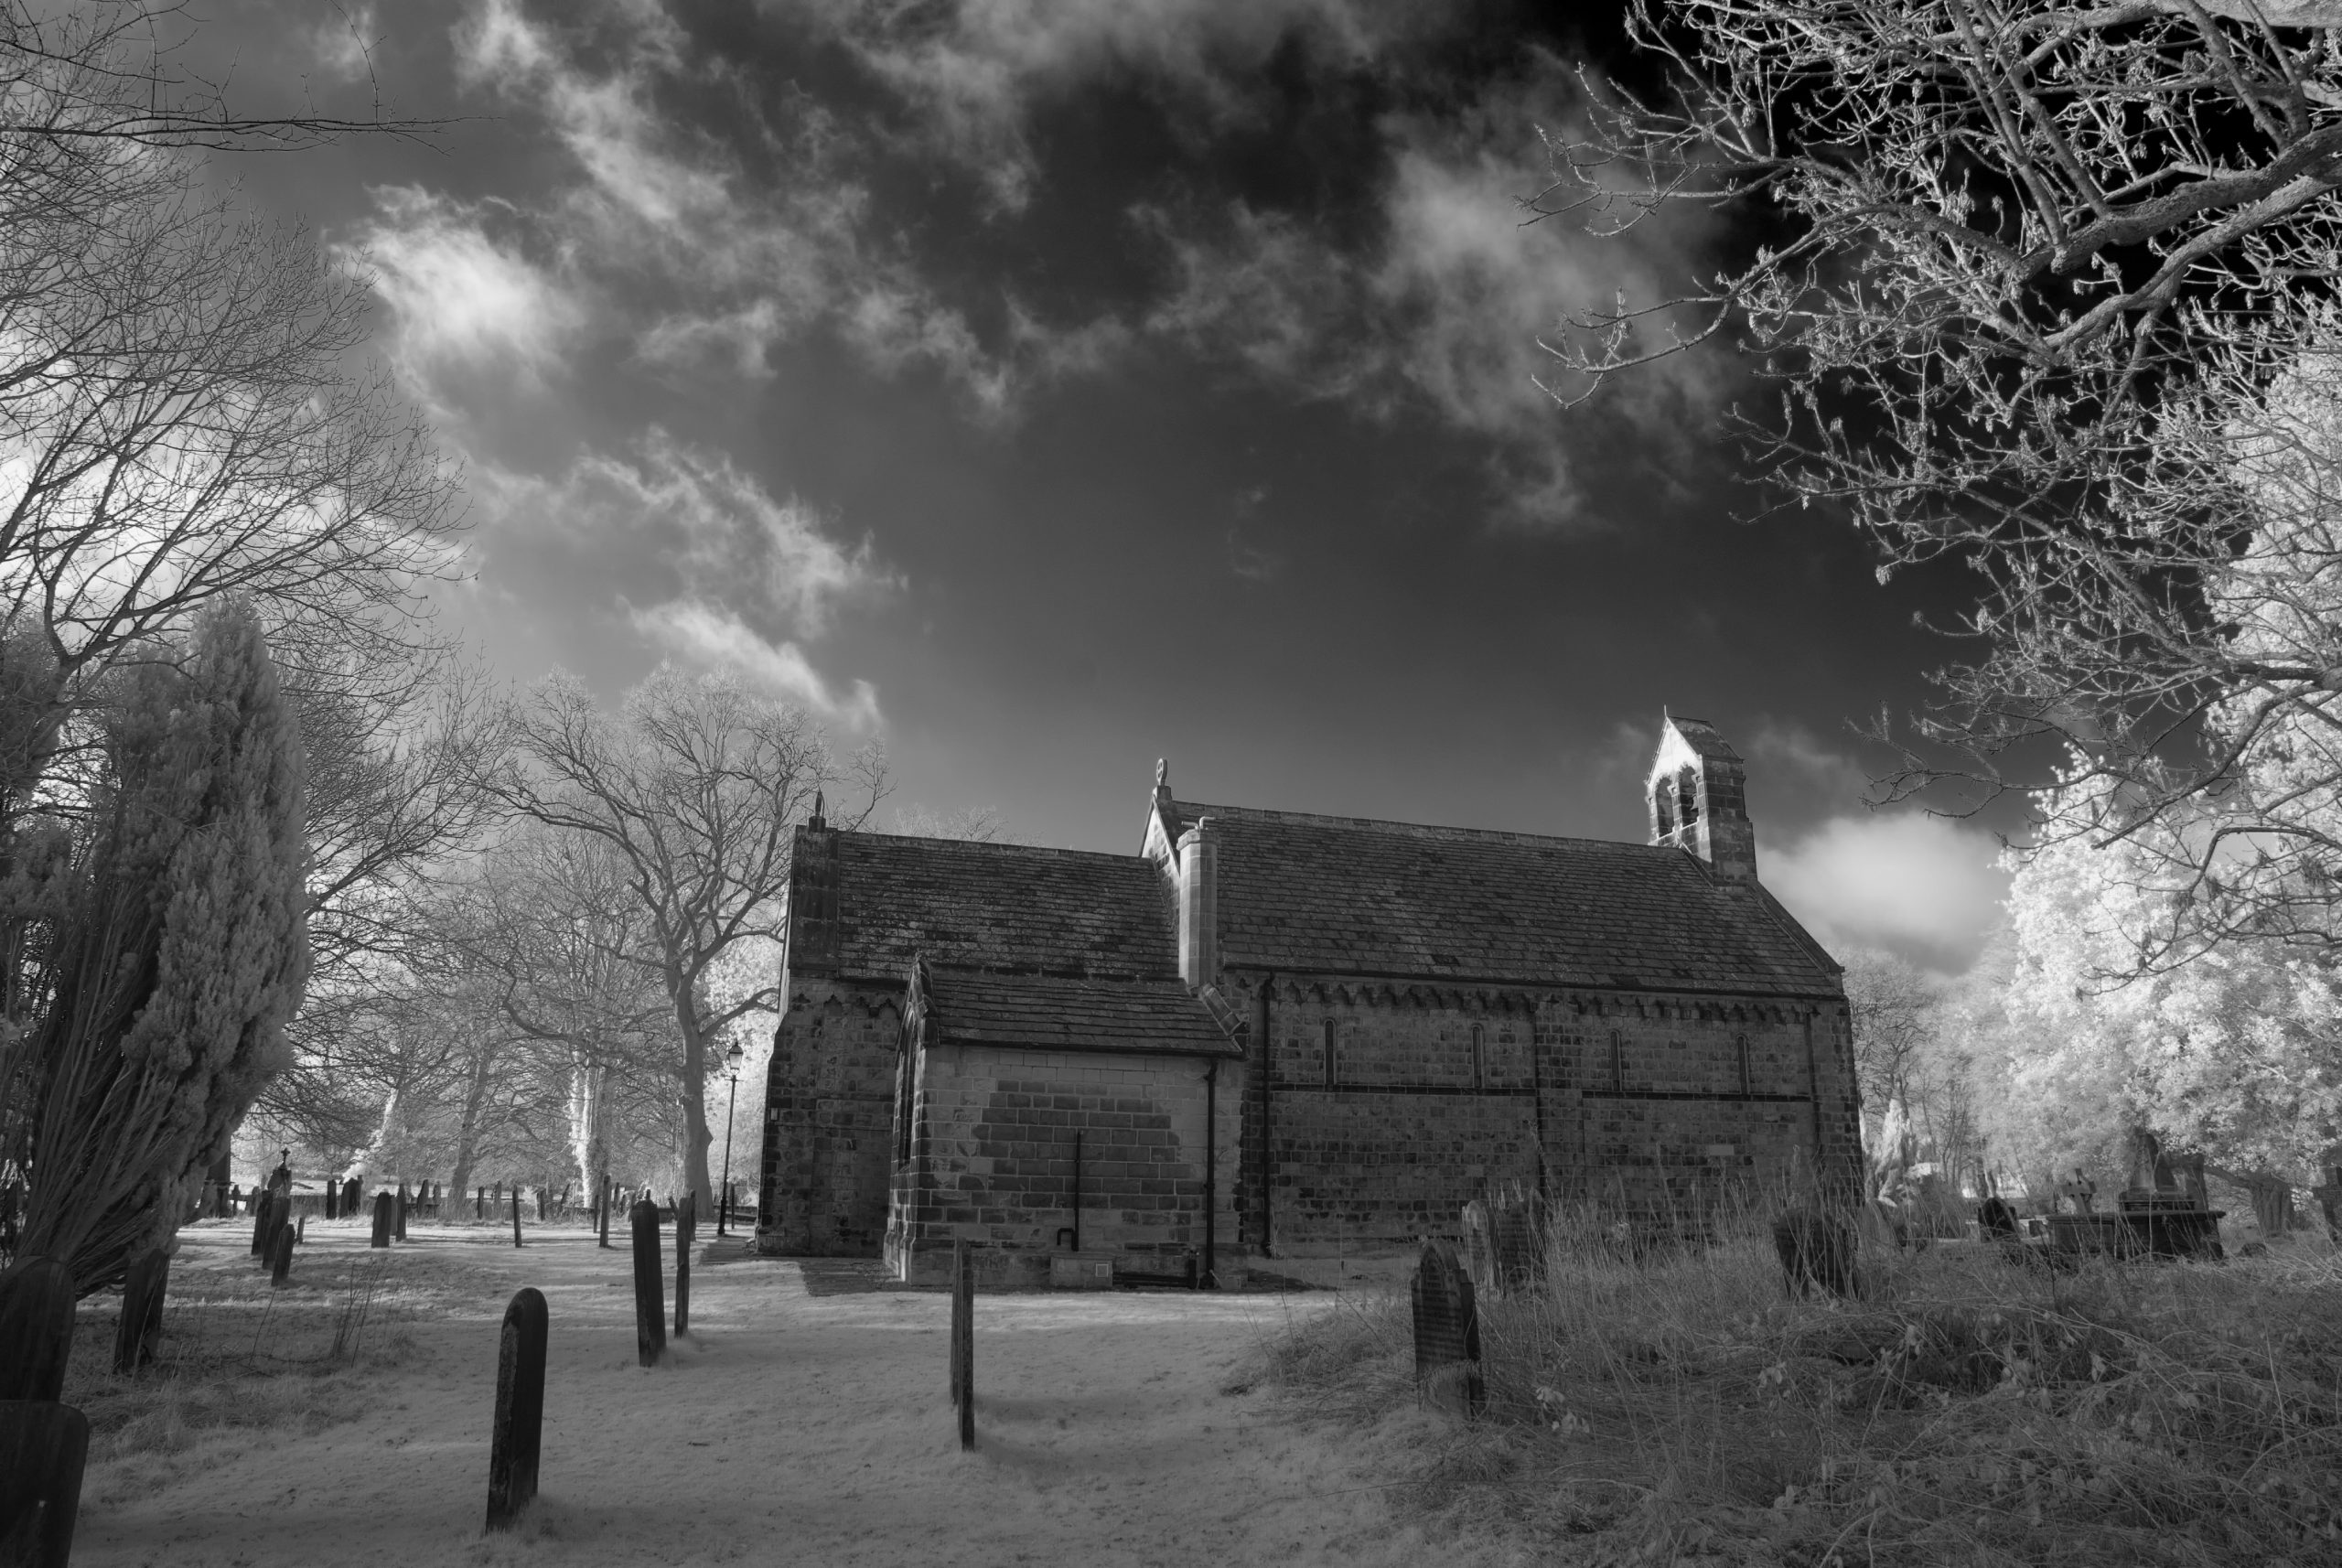
Converting to Black & White
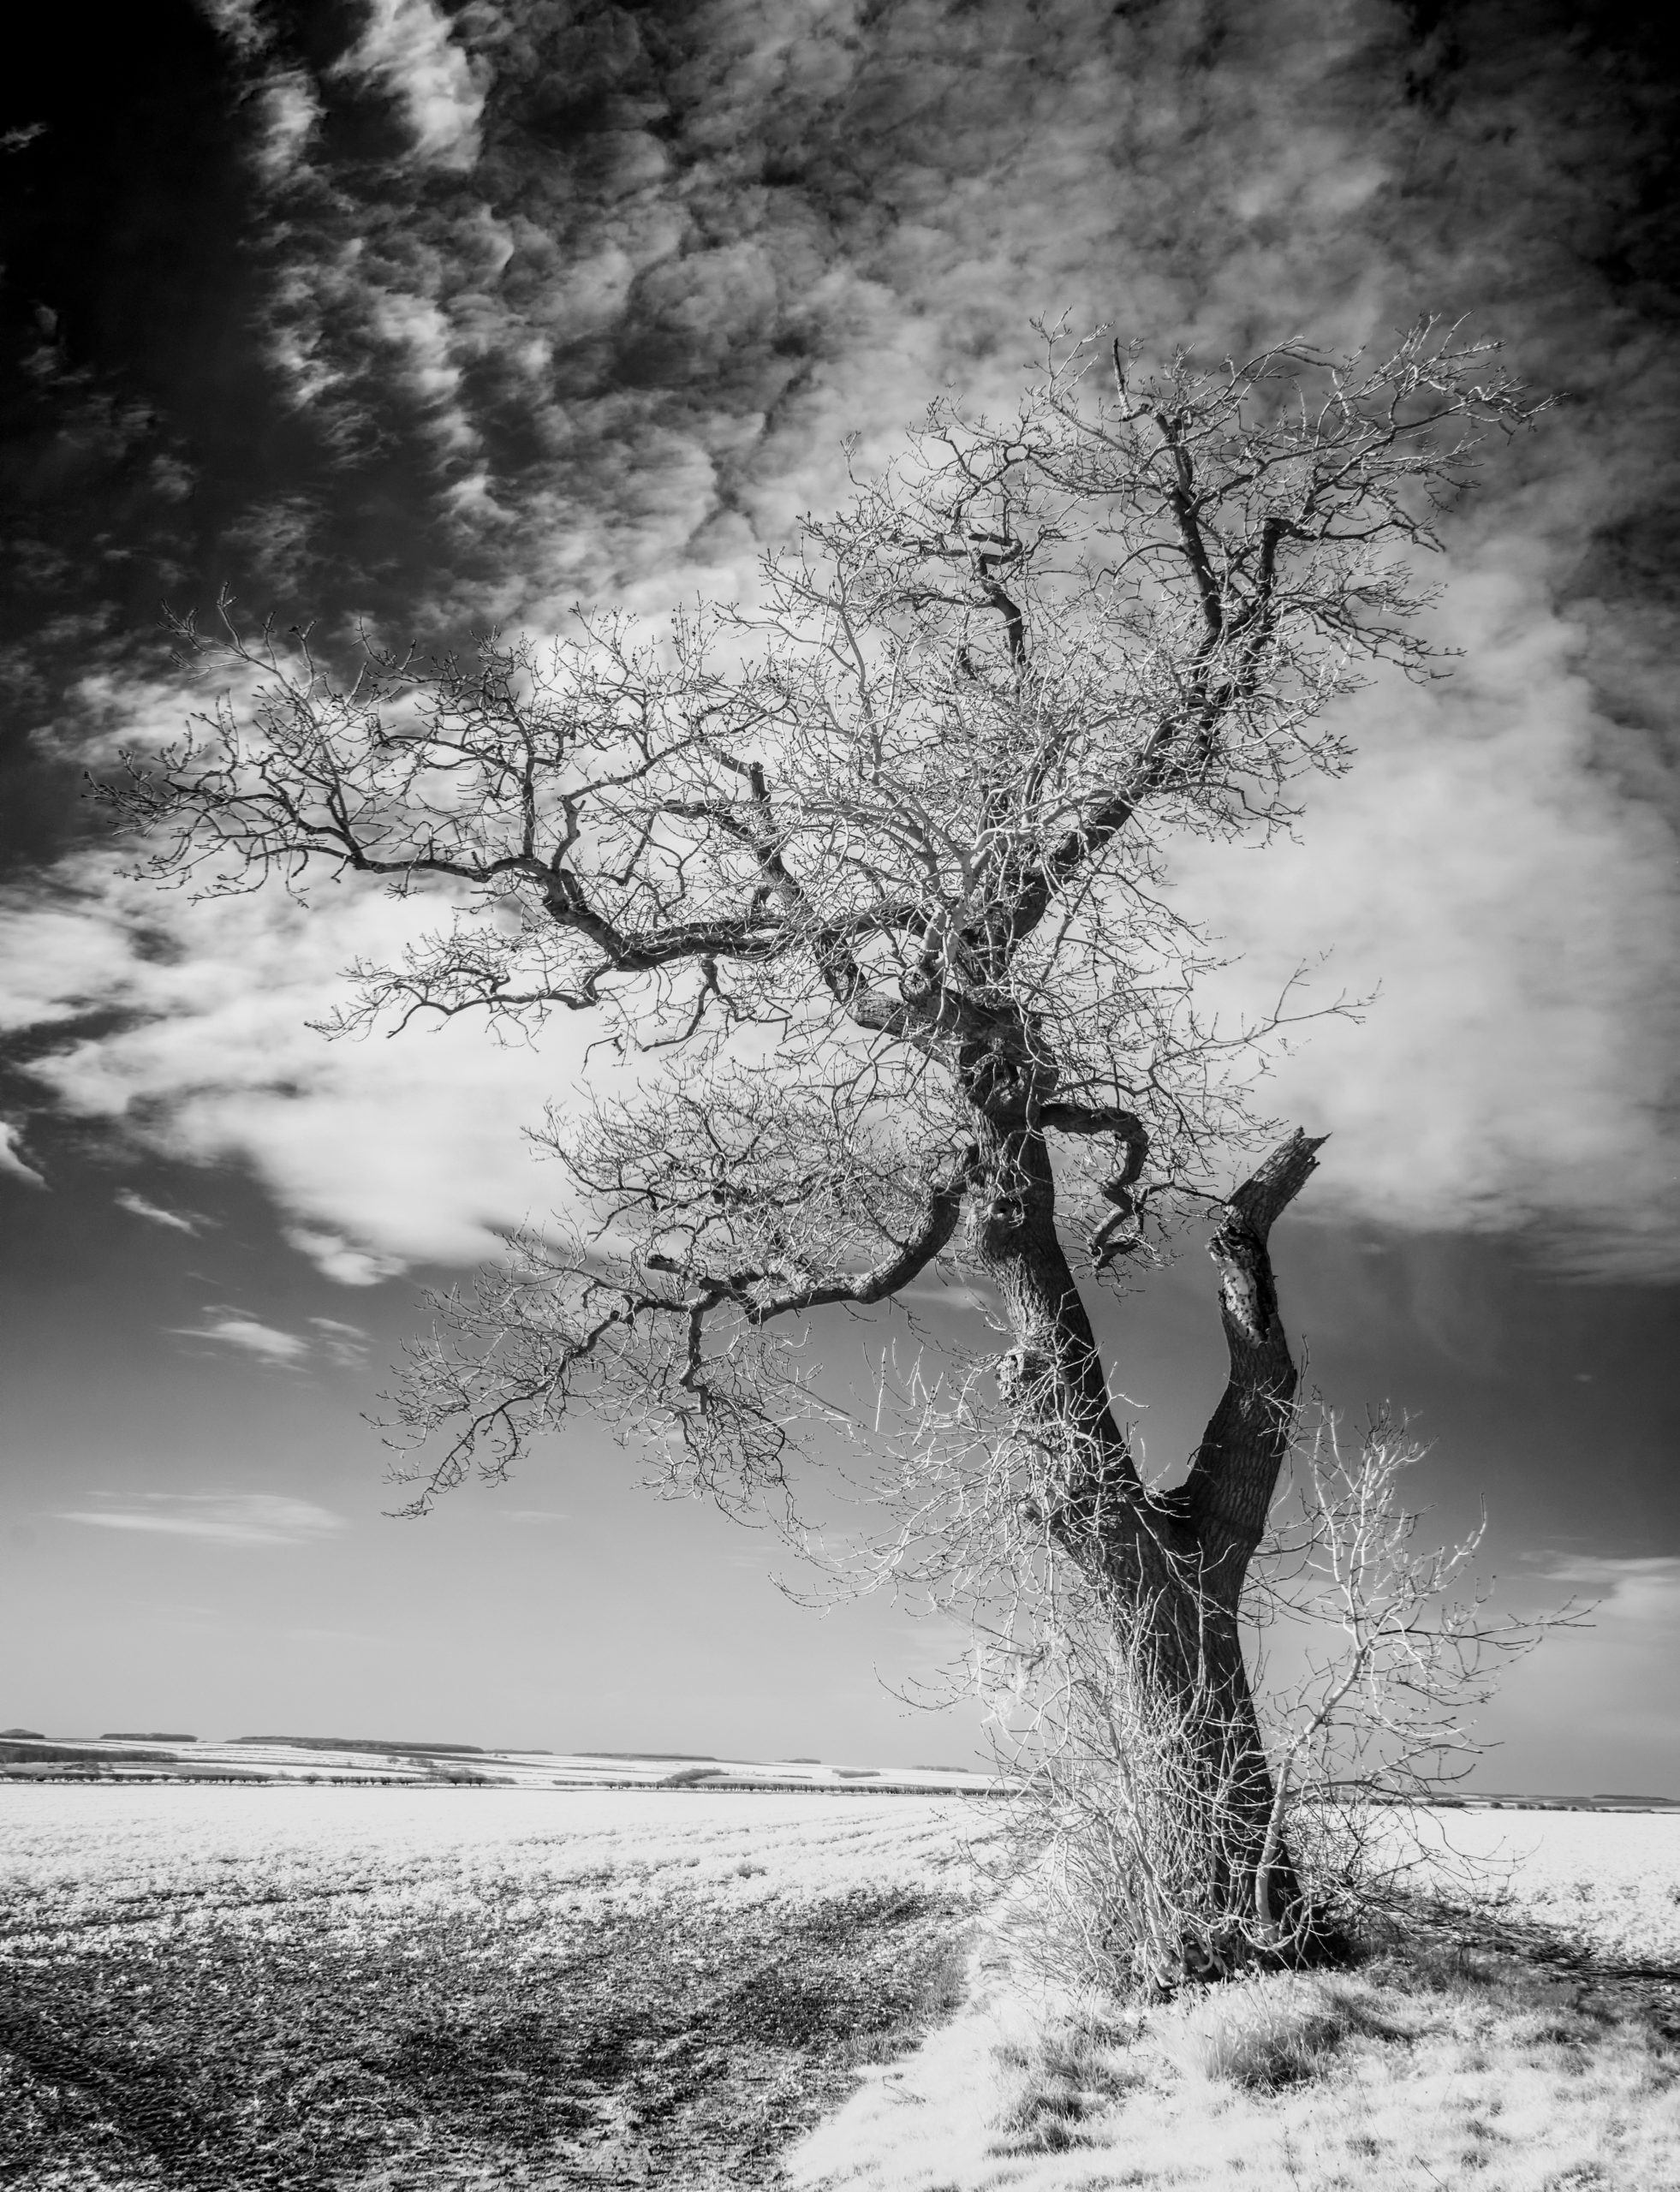
In my infrared photography, most of the images I shoot are destined to be shared as black & white photographs. Again, this is based purely on personal preference. Here is the same image converted to black & white.
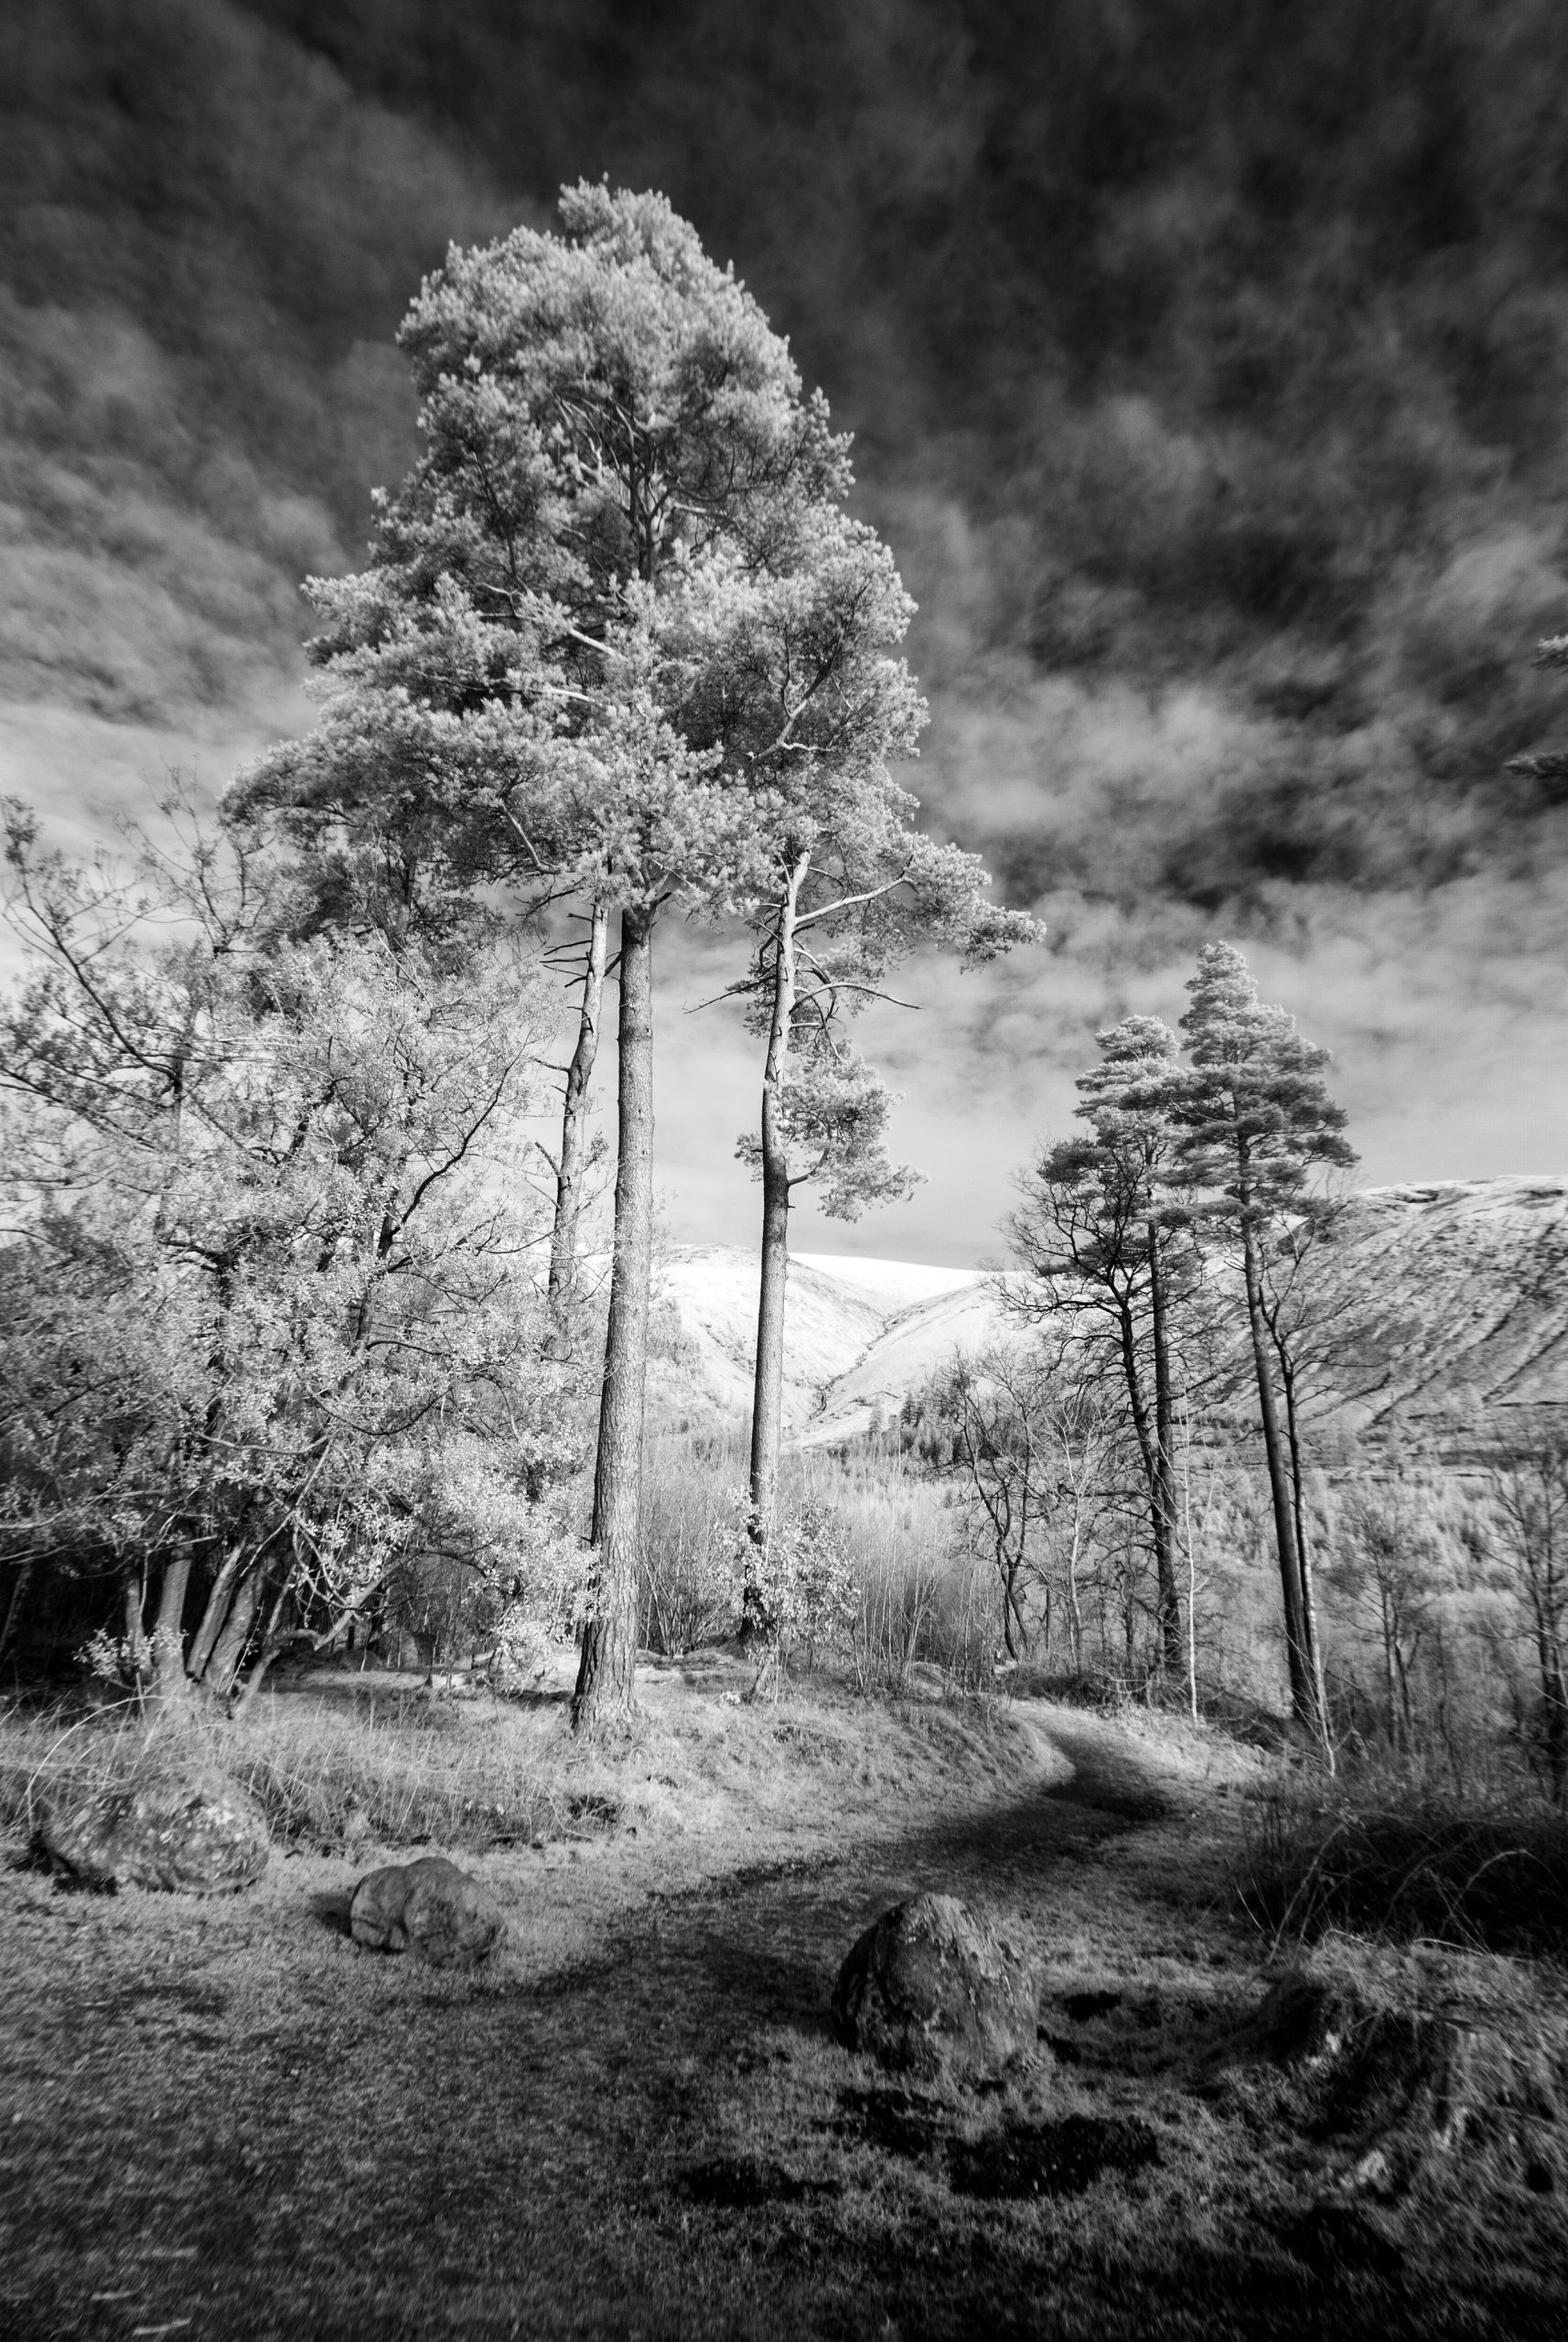
![[view black & white image]](/wp-content/uploads/2021/04/IR590-3.jpg)
The purchase of an IR590 camera is, to me, extremely exciting and opens up many possibilities. The ability to take infrared photographs without having to set up a tripod, manually focus by guesstimation, and to prepare for a long exposure has been an amazingly liberating experience. I’m very much looking forward to getting some heavy use out of this camera during the summer and autumn months. These are exciting times!